Setting up the orchestrator workflow

The orchestrator—used alongside other Puppet Enterprise (PE) tools, such as Code Manager—allows you to control when and how infrastructure changes are made before they reach your production environment.

This recommended workflow gives you precise control over rolling out changes, such as deploying new Puppet code or updating data and classifying nodes. In this workflow, you configure your agents to use cached catalogs during scheduled runs, and you use orchestrator jobs to send new catalogs only when you're ready. Scheduled runs continue to enforce the desired state from the last orchestration job until you send another new catalog.
Before you begin:

This workflow assumes you’re familiar with Code Manager. It involves making changes to your control repo, such as adding or updating modules, editing manifests, or changing your Hiera data.

This workflow requires running deploy actions from the Code Manager command line tool and the orchestrator, so make sure you have access to a host with PE client tools installed.

Enable cached catalogs for use with the orchestrator

Enabling cached catalogs on your agents ensures Puppet does not enforce any catalog changes on your agents until you run an orchestrator job to enforce changes.

When you use the orchestrator to enforce changes in a Puppet environment (for example, in your production environment), you want agents in that environment to maintain their cached catalogs until you run an orchestrator job that deploys configuration changes for those agents. In these environments, agents reinforce configuration from their cached catalogs during the normal run interval (30 minutes by default), and they apply new configuration only when you run Puppet with an orchestration job.

Important: Although enabling cached catalogs is optional (you can run Puppet on nodes with orchestrator workflows that don't require cached catalogs), our recommended workflow requires enabling cached catalogs so agents enforce cached catalogs by default and only compile new catalogs when instructed by orchestrator jobs.
  1. Run Puppet on the new agents.
    CAUTION: Run Puppet on new agents before assigning any application components to them or performing the next step.
  2. In each agent's puppet.conf file, add use_cached_catalog=true to the [agent]section. There are two ways to do this:
    • From the command line on each agent machine, run:
      puppet config set use_cached_catalog true --section agent
    • Add an ini_setting resource in the node default {} section of the environment’s site.pp file.
      Important: This adds the setting to all agents in the environment.
      if $facts['kernel'] == 'windows' {
        $config = 'C:/ProgramData/PuppetLabs/puppet/etc/puppet.conf'
      } else {
        $config = $settings::config
      }
       
      ini_setting { 'use_cached_catalog':
        ensure  => present,
        path    => $config,
        section => 'agent',
        setting => 'use_cached_catalog',
        value   => 'true',
      }
  3. Run Puppet on the agents again to enforce this configuration.

Set up node groups for testing new features

  1. If they don't already exist, create environment node groups for branch testing. For example, you could create Development environment and Test environment node groups.
  2. Within each of these environment node groups, create a child node group to enable on-demand testing of changes deployed in Git feature branch Puppet environments.
    You now have at three levels of environment node groups:
    • The top-level parent environment node group
      • Node groups representing your actual environments
        • Node groups for feature testing
  3. On the Rules tab for each feature testing child node group, add a rule with these values:
    • Fact: agent_specified_environment
    • Operator: ~
    • Value: ^.+
    This rule matches any nodes from the parent group that have the agent_specified_environment fact set. By matching nodes to this group, you give the nodes permission to override the server-specified environment and use their agent-specified environment instead.

Create a feature branch

After setting up a node group for feature testing, create a feature branch in your control repository. A feature branch allows you to develop and test code before merging it with the main branch.

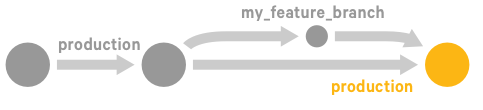
  1. Create a feature branch in your control repository, and name the branch clearly as a feature branch (for example, my_feature_branch or feature_<TICKET_NUMBER>).

    A Git diagram showing a production branch with an offshoot branch called my_feature_branch.
  2. Make changes to the code on the feature branch, and commit and push the changes to the feature branch.

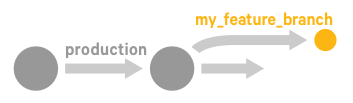
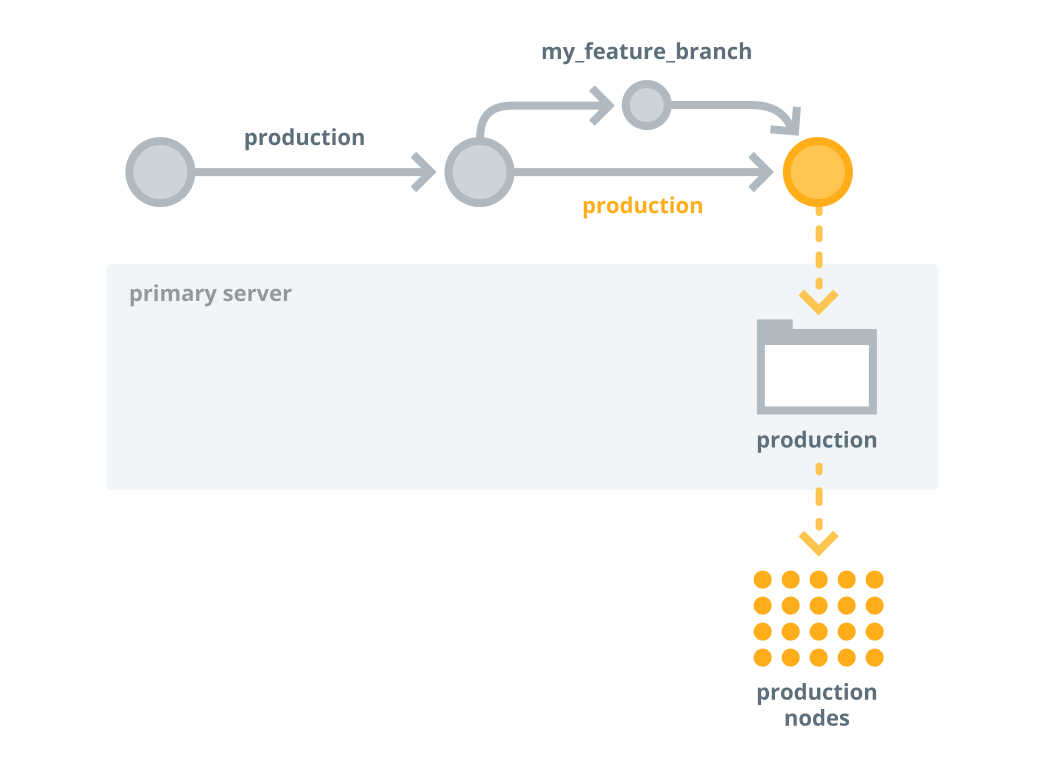
Deploy code to the primary server and test it

After making changes to the code on your feature branch, use Code Manager to push those changes to the primary server.

  1. To deploy the code from the feature branch to the primary server, run this Code Manager command:
    puppet code deploy --wait <FEATURE_BRANCH>

    A Git diagram showing a production branch with an offshoot branch called my_feature_branch. Each branch contains code for a primary server.

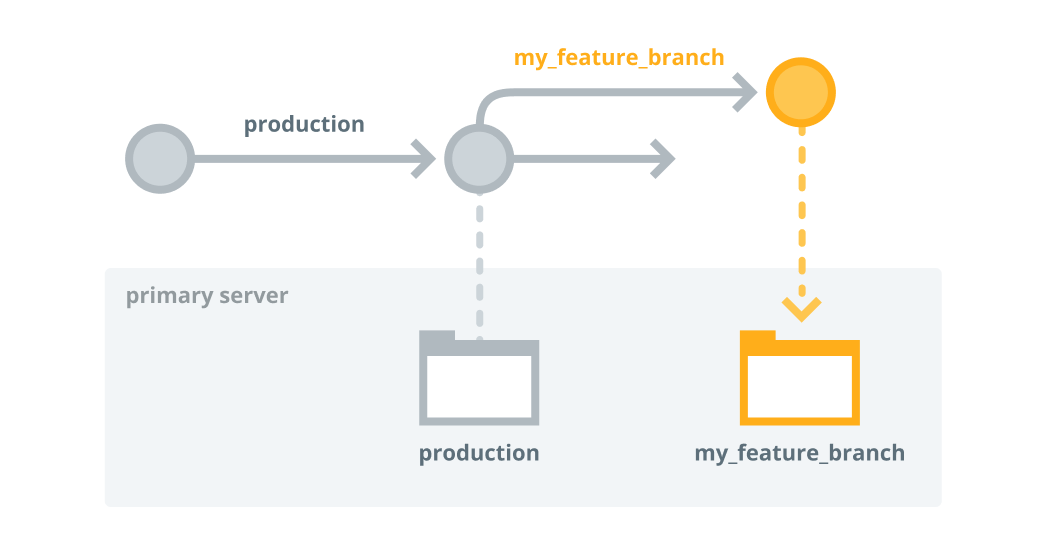
    After this code deployment, wait while Puppet Server loads the new code. The primary server now has code from the main/production branch and the feature branch.

  2. To test your changes, use this orchestrator command to run Puppet on a few agent-specified development nodes in the feature branch environment:
    puppet job run --nodes <DEV-NODE1>,<DEV_NODE2> --environment <FEATURE_BRANCH>
    Tip: You can also use the console to create a job targeting a list of nodes in the feature branch environment.

    A Git diagram showing a production branch with an offshoot branch called my_feature_branch. Each branch contains code for a primary server. The production branch code is deployed to all production nodes, and the feature branch code is deployed to the selected group of nodes, which are highlighted in the diagram.
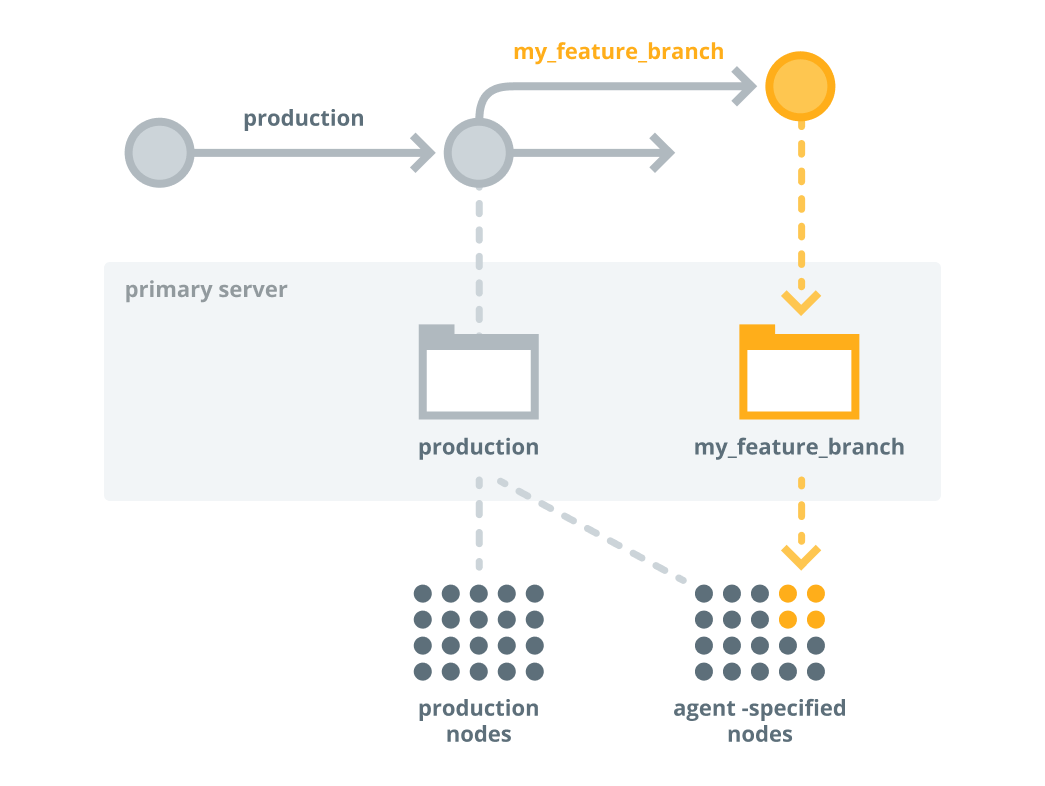
    At this point, the production environment maintains the original code deployed to all production nodes, and the feature branch environment has deployed your new code from the feature branch to the nodes you specified.
  3. Review the node run reports in the console by opening the links in the orchestrator command output or using the Job ID linked on the Job list page. Verify the code changes had the intended effect.

Merge and promote your code

If everything works as expected on the development nodes, you're ready to promote your changes into production.

  1. Merge your feature branch into the production branch in your control repo.

    A Git diagram showing a production branch with an offshoot feature branch that is merged back into the production branch.
  2. To deploy your updated production branch to the primary server, run this Code Manager command:
    puppet code deploy --wait production

Preview the job

Before running Puppet across the production environment, use the puppet job plan command to preview the job.

  1. To ensure the job captures all nodes in the production environment, as well as the agent-specified development nodes that just ran with the feature branch environment, use this query as the job target:
    puppet job plan --query 'inventory {environment in ["production", "<FEATURE_BRANCH>"]}'
  2. Review the outcome to ensure you want to make these changes.

Run the job on the production environment

If you're satisfied with the job preview, you're ready to enforce changes on the production environment.

  1. To deploy the new code to the primary server and all nodes in the production environment, run the orchestrator job:
    puppet job run --query 'inventory {environment in ["production", "<FEATURE_BRANCH>"]}'
    Tip: You can also use the console to create a job targeted at this PQL query.

    A Git diagram showing a production branch with an offshoot feature branch that is merged back into the production branch. New code from the merged feature branch is deployed to the primary server in the production environment, and then deployed to all nodes in the production environment.
  2. Check the node run reports in the console to confirm that the changes were applied as intended.
What to do next
Repeat this process as you develop and promote your code.